Learn how connecting Jira to GitHub can transform your development workflow. Our guide provides actionable steps, pro tips, and troubleshooting advice.
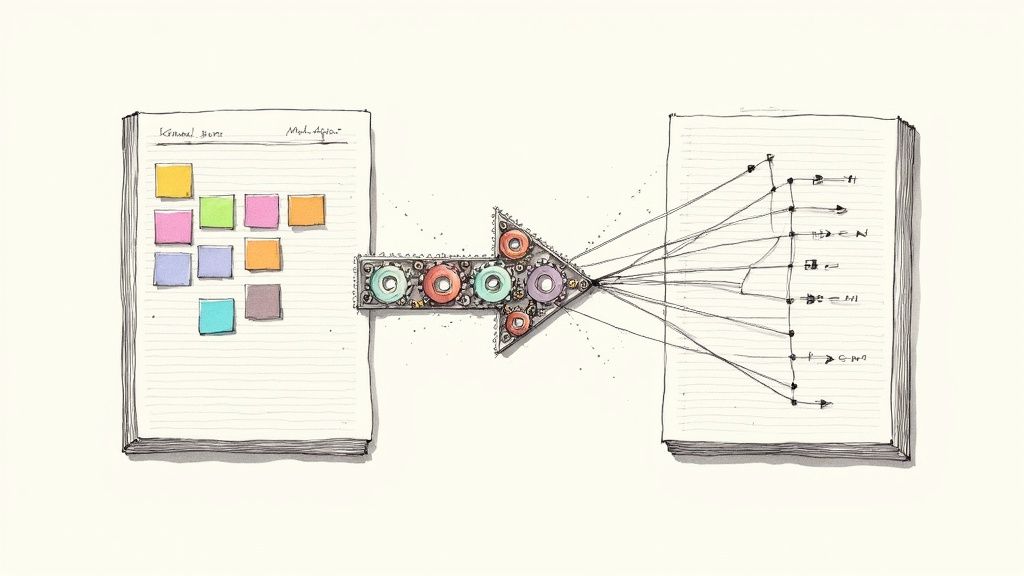
Connecting Jira to GitHub is about creating a single, automated source of truth for your entire team. Imagine a world where your project plans in Jira are perfectly in sync with the actual code being written in GitHub, with no manual updates needed. This connection bridges the gap between product managers and developers, giving everyone a live, accurate view of project progress and supercharging your team's efficiency. For anyone looking to improve their workflow, learning how to connect Jira to GitHub is a game-changer.
Think about a typical startup. The product team lives in Jira, mapping out features and planning sprints. Meanwhile, the dev team is heads-down in GitHub, committing code and opening pull requests. Without a direct connection, a dangerous communication gap forms. Important details get lost in translation, and status updates become a chore.

Here's a real-world horror story: a critical bug fix was marked as "Done" in GitHub, but the developer forgot to update the Jira ticket. The QA team, relying on Jira, never tested the fix. The bug slipped into production, causing a major outage for a key customer. This kind of preventable failure happens all the time when tools aren't talking to each other.
Hooking these two platforms together solves this fundamental problem. When a developer creates a new branch and simply includes the Jira issue key (like PROJ-123) in the name, all that activity magically appears right inside the Jira ticket. It forges a clear, transparent link between the plan and the code that makes it happen.
This isn't just a nice-to-have; it's a core practice in modern software development. Linking branches, commits, and pull requests to Jira issues gives your team total visibility. For a deeper dive, Atlassian's support page has great documentation on how it all works.
This isn't just about linking tools; it's about building a transparent, efficient development engine. It ensures everyone from the CTO to the QA engineer is looking at the same real-time information.
Creating this single pane of glass offers huge benefits for everyone involved:
To get even more out of this setup, it's worth exploring effective project collaboration strategies that can build on the technical integration. At the end of the day, connecting your tools is about building a more aligned, informed, and productive team.
Before you start clicking buttons, a little prep work goes a long way. Think of it like gathering your ingredients before you start cooking—it makes everything smoother. When connecting Jira to GitHub, the most common hurdle is permissions. Getting this right from the start will save you a ton of headaches later.
The goal is to give the "GitHub for Jira" app the right level of access to see what's happening in your repositories and feed that information back into your Jira tickets. You aren’t handing over the keys to the entire kingdom, just enough for it to do its job securely.
To get these two platforms talking, you’ll need specific administrative rights. These aren't just recommendations; the integration simply won't work without them.
If you don't hold these roles, now's the perfect time to ping the person in your company who does. A quick Slack message now can save you from getting stuck later.
A classic trip-up I see all the time is assuming repository admin rights in GitHub are sufficient. For the initial handshake, it must be an organization owner who grants the permissions. This gives the app the necessary scope to work across all the repositories you want to connect.
This native integration is fantastic, but it's also worth knowing how other tools can build on it. For example, our Sopa and Jira integration guide walks through automating code review checks and linking them directly to your tickets with very little fuss.
Once you’ve got the green light on your permissions, you're all set to kick off the connection process.
Alright, with your admin permissions sorted, it's time to actually connect Jira and GitHub. The whole process kicks off right inside Jira using an official app from the Atlassian Marketplace. Think of the Marketplace as an app store for your Atlassian tools—it's where we'll grab the app that acts as the bridge between Jira and GitHub.
The one we're after is the official "GitHub for Jira" app. It's built by the team at GitHub themselves, so you know it's secure and well-maintained. Just how popular is this kind of integration? Some Git integration apps have been installed over 11,000 times, which shows how critical this connection is for modern development teams.
From your Jira dashboard, head over to Apps > Explore more apps. In the search bar, just type "GitHub for Jira" and you'll see the official application pop right up.
Click "Get app" and Jira will handle the installation into your Cloud instance. It's usually pretty quick, just a moment or two.
Once it's installed, the real work begins: configuration. This is where you'll point Jira to the right GitHub organization and tell it which repositories to watch. To get there, go to Apps > Manage your apps, find "GitHub" in your list, and click Configure. This will start the authorization process, where you'll need to sign in and grant access from your GitHub account.
When you hit configure, you'll be redirected to GitHub to authorize the connection. This is the moment where having those GitHub organization owner permissions is essential. After you grant access, you'll be sent back to Jira.
From there, you get to choose which repositories to link. You can be selective and link just a single repo, or you can connect every repository in your organization.
My Two Cents: Don't sleep on "smart commits." This is a fantastic feature that lets you do things like add comments or change the status of a Jira issue just by including the issue key in your commit message. It's a huge time-saver. Make sure this is enabled during setup to get the most out of the integration.
This native connection gives you a really solid workflow foundation. But if you want to take it a step further, you can explore tools like Sopa's GitHub integration capabilities to layer in things like AI-powered code reviews directly into your pull requests. This is where you move from a good workflow to a great one.
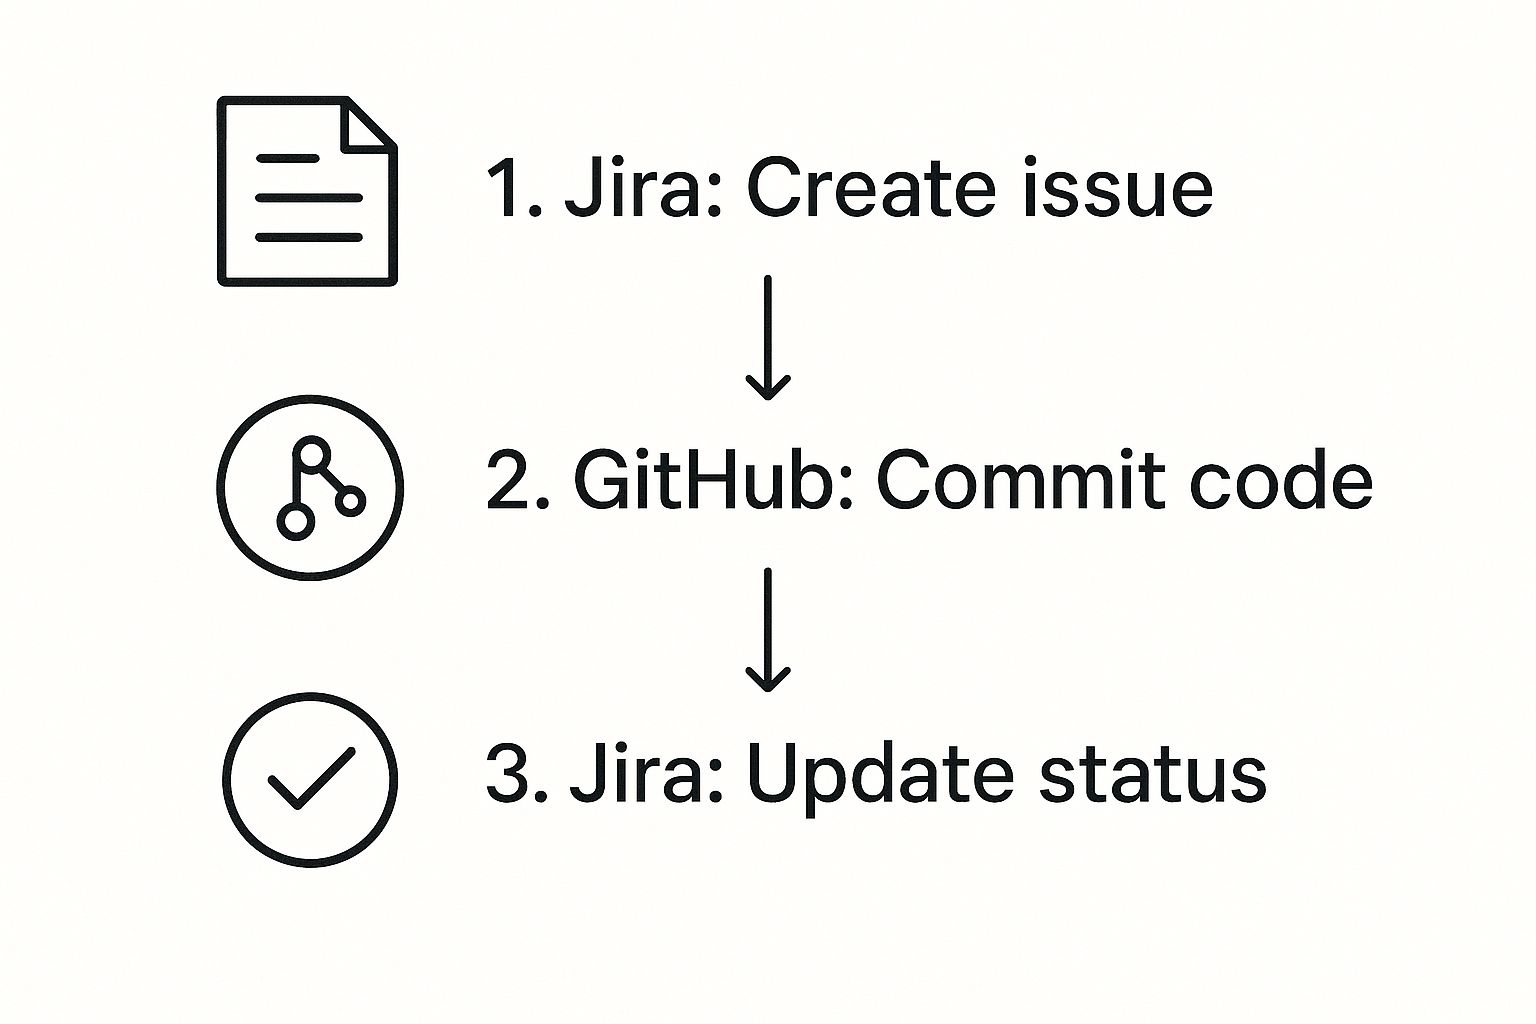
Your integration is live—so now what? The real magic happens when your team starts using it to link their code directly to their work in Jira. This is where you graduate from just having two connected tools to running a genuinely intelligent workflow that keeps everyone in sync automatically.
It all starts right from the command line. Using a feature called smart commits, your developers can update Jira tickets without ever having to switch windows. It sounds like a small thing, but shaving off those constant context shifts adds up to a massive gain in focus and productivity.
Think about a common scenario: a developer just squashed a bug for ticket PROJ-123. The old way involved committing the code, then jumping over to Jira to drag the ticket across the board and leave a comment.
With smart commits, they can do it all in a single command.
A smart commit message looks something like this:git commit -m "PROJ-123 #done #comment Fixed the login button alignment issue"
That one-liner instantly triggers three actions in Jira:
PROJ-123 ticket.This simple habit is the bridge between a developer's work and the project's status board. It ensures Jira is always a real-time reflection of what's actually happening with the code, which is a massive win for accurate sprint planning and keeping stand-ups on point.
To make it even easier, here’s a quick reference guide your developers can use.
A quick reference guide for developers to update Jira issues directly from their Git commit messages.
Using these commands consistently helps keep the entire team aligned with minimal administrative effort.
Once your team starts using smart commits, the Development Panel inside every Jira ticket becomes the go-to place for all development-related context. No more hunting around for information—it’s all right there.
At a glance, anyone can see:
This visibility is a huge help for product managers and QA testers. They can see precisely which code changes are ready for review without having to ask. For teams that want to take it a step further, this is the perfect spot to integrate automated quality checks. You can learn more about how to set up pull request testing to automatically catch bugs before code is even merged.
Bringing all your development activity directly into Jira gives everyone on the team the context they need to make better decisions, faster.
So, you’ve set everything up, but something’s still not quite right. It happens. You push a commit referencing a Jira ticket, but the dev panel in Jira remains stubbornly empty. Don't worry, this is usually a classic case of a permissions mix-up or a sync hiccup, and it’s almost always fixable.

Before you dive deep, check the most common culprit: app permissions inside your GitHub organization. I've seen it dozens of times—a developer who isn't an org owner tries to connect a new repository, and the connection just fails silently in the background. It's a simple oversight that accounts for a surprising number of headaches.
Another common scenario is seeing commits flow into Jira just fine, but pull requests are nowhere to be found. This almost always points the finger at a webhook issue; GitHub is trying to talk to Jira, but Jira isn’t getting the message.
When things aren't working as expected, a methodical approach is your best friend. Start with the simplest fixes and work your way up.
PROJ-123) in their commit messages, branch names, and PR titles. Even a tiny typo will cause the link to break.Keep in mind that both Jira and GitHub are constantly evolving. For instance, some teams ran into trouble after the GitHub platform updates in the spring of 2025, which temporarily threw a wrench in the integration's reliability. While these tips are specific to this connection, the core concepts apply to solving common data integration problems across the board.
A healthy integration is an active one. If you've recently rotated security keys or tightened up your organization's permissions in GitHub, you'll likely need to re-authenticate the Jira app to get the data flowing again.
If you’re looking to make your workflow more bulletproof, a tool like Sopa can automatically validate that every PR is properly linked to a Jira ticket, catching mismatches before they cause a logjam. Ready to build a development pipeline you can trust? Try Sopa with a free trial today and keep your projects perfectly aligned.
When you start connecting Jira and GitHub, a few questions almost always come up. Here are the answers to some of the most common ones I've heard from teams over the years.
Absolutely. This is one of the integration's biggest strengths. The GitHub for Jira app is built to handle this exact scenario, letting you authorize as many repositories as you need, even if they live in different GitHub organizations.
Just make sure your team references the Jira issue key in their commits, branches, and pull requests. As long as they do, all the development activity from those linked repositories will flow right into the correct Jira issues. It's a lifesaver for teams working with microservices or any project with a distributed codebase.
We've all been there. You type #in-progres instead of #in-progress and hit enter. Unfortunately, Smart Commits are a one-and-done deal—they get processed once and can't be fixed after the fact.
The good news is that if the Jira issue key itself was correct, the commit will still link to the ticket. The bad news? The workflow transition or comment you intended won't happen. The action just fails silently. You'll have to jump into Jira and update the issue status manually. It’s a small thing, but double-checking that syntax can save you a bit of hassle.
This is a critical point that often trips people up. The official "GitHub for Jira" app from the Atlassian Marketplace is designed to connect Jira Cloud with GitHub Cloud only.
If your team is self-hosting with Jira Server/Data Center or GitHub Enterprise Server, you need a different tool: the "Jira Software DVCS connector." The setup process is completely different and requires you to create an OAuth app in GitHub.
Key Takeaway: Always confirm you're using the right app for your specific hosting environment. Trying to use the cloud app for a server instance just won't work.
Ready to eliminate manual checks and ensure every pull request is perfectly aligned with your Jira tickets? Sopa uses AI to validate your PRs, catch bugs early, and streamline your entire code review process.
Start your free trial at heysopa.com and ship higher-quality code today.